Want to decorate your bullet journal? Personalize your gift packaging? Put a little attention on your orders? Here’s how to easily make stickers with Print then cut and Cricut Maker. Read the Top 10 Best Printer for Cricut
Before starting this project, it is necessary to calibrate your Cricut Maker for Print Then Cut. You will find this action in the left menu:
- Start by looking for the images you need. You can also make your own drawings, it’s nice, isn’t it?
- Once your image is saved on your computer, you open Design Space and create a new project.
- You click on Import and you will look for your image.
- Once your image has been imported, you have the choice between three buttons.
- For my part, I always choose Complex by default. After you click Next
- Now you will click on what you do not want to keep.
- Click on next and choose to keep the image to print then cut
- The image is saved on Design Space, you can import it on the canvas.
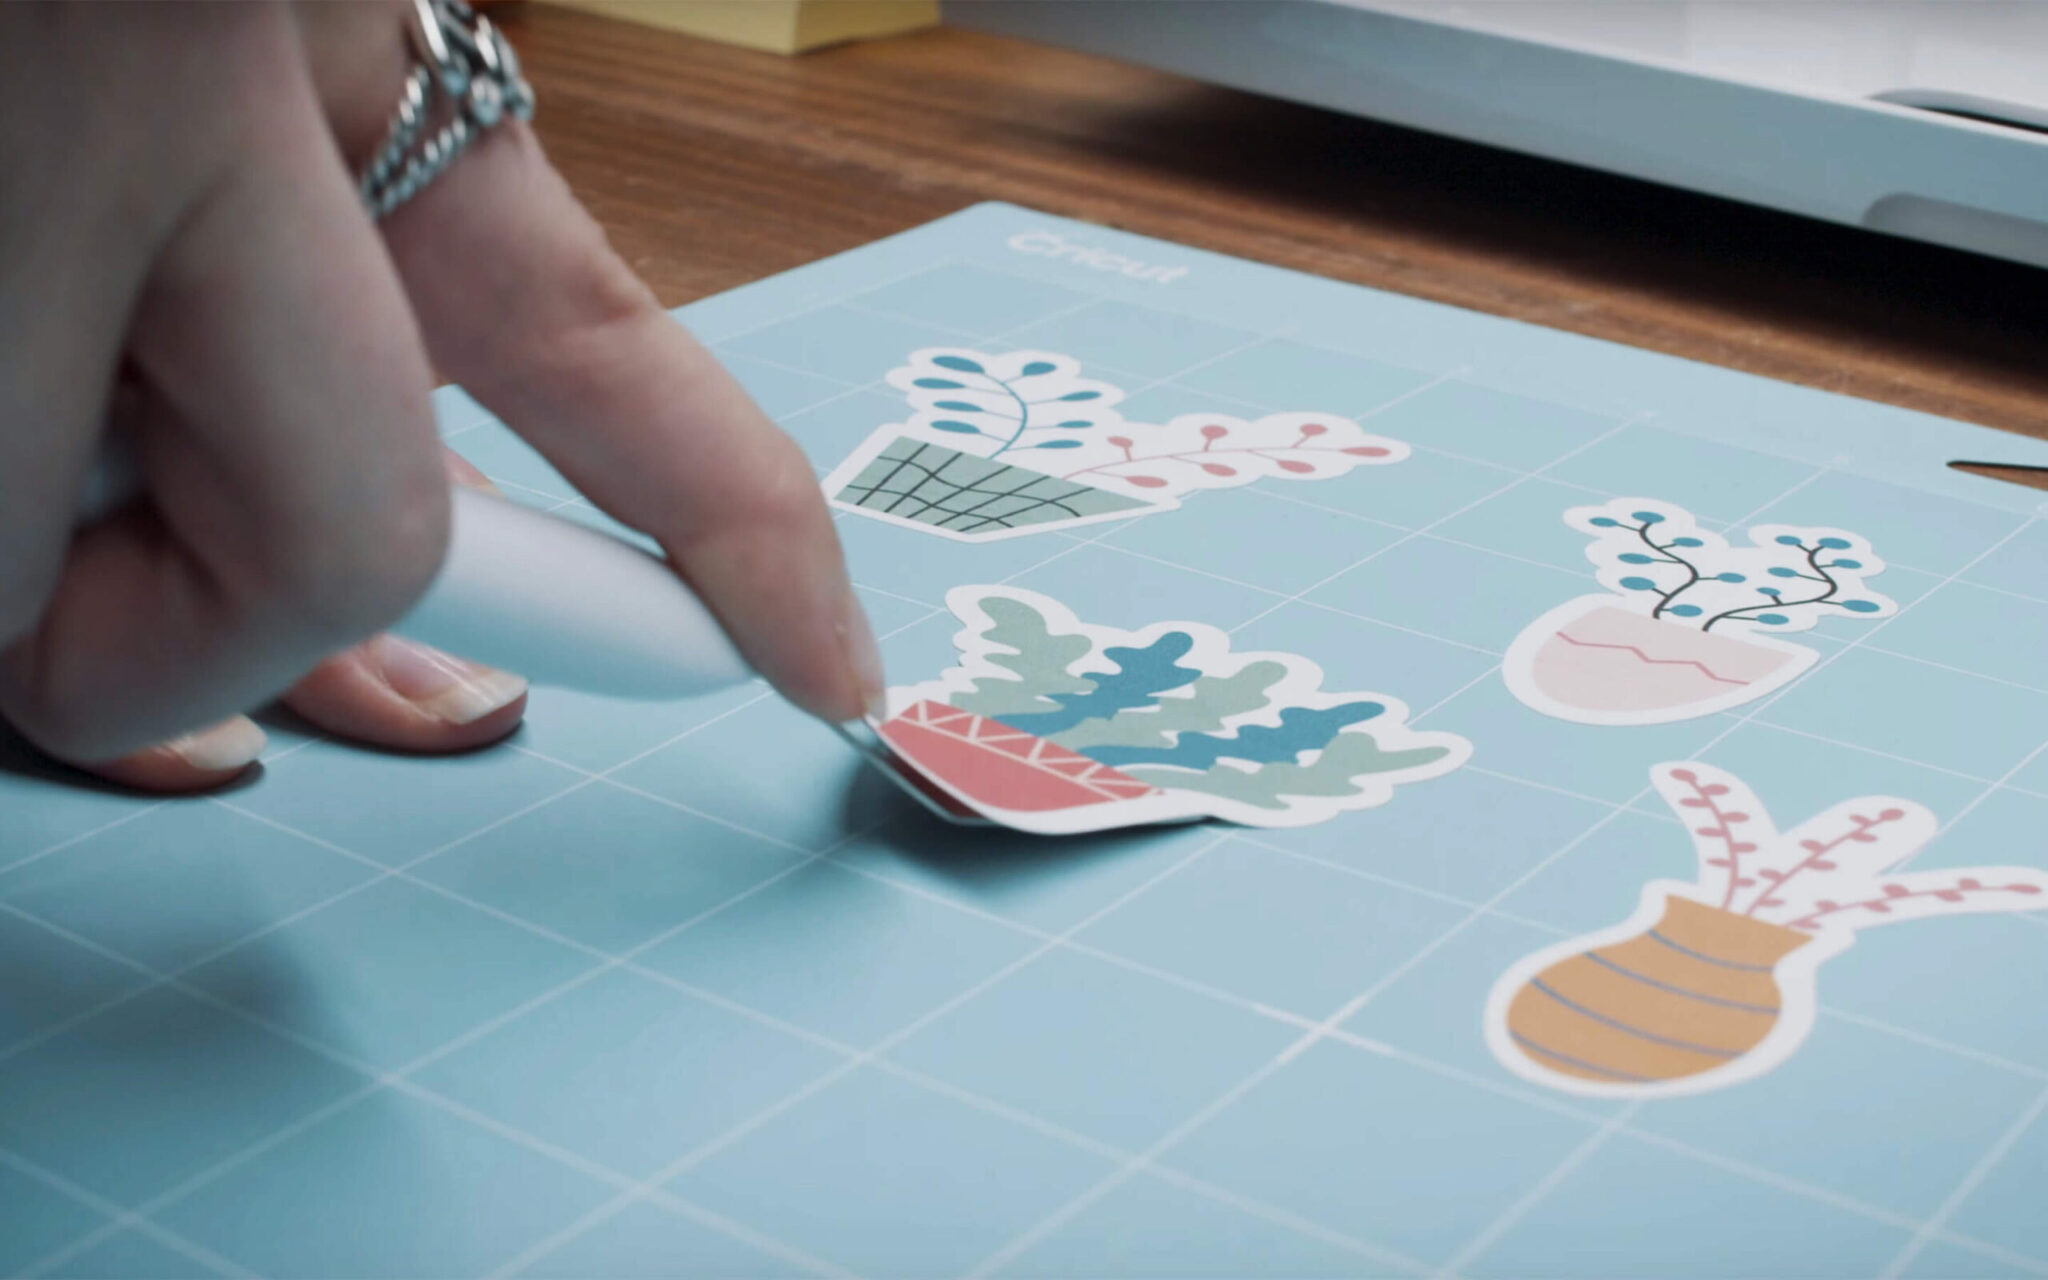
- Once on the canvas, you create a shape to simulate the sticker sheet.
- Put your image in the desired format.
- Duplicate your image to put as many as you want on the board.
THE CREATION OF THE STICKER SHEET
Drawings on a transparent background
Once in Photoshop, I arranged my drawings as if they were on a sheet of stickers. At this stage, however, everything is on a white background of size 10.5 x 14.8 cm. However, to obtain a cut as close as possible to the patterns, it is necessary to create a margin around it, on a transparent background. In making a Shirts from the Sticker is also, a Good Choice but making a Shirts with the Sublimation Printer for T-shirts also the best practice. And for that, you have to make the software understand that you want to “remove” the white space. So, I duplicated my layer, hid the first layer, and right-clicked on the new one, choosing “blending options”.
Inevitably, it removed some details despite everything, like the white patterns on the pencils. So, I made some edits (I did them with a white brush on a layer added below). I also deleted the first layer which was hidden, and merged the remaining layers. In the Layers of making Cricut with the Stickers is okay but if you only need a sticker, you need a 10 Best Printer for Stickers
In order to create the famous white margin, I used the magic wand to select the transparent background, all around my drawings. Then I went to “selection” (in the menu at the top), “modify”, “contract”, choosing 15 pixels. As the selection is sometimes too “abrupt”, you just have to go back to “selection” and choose “smooth” (10 pixels). Follow the Complete Procedure and Print Many Stickers with Cricut.


