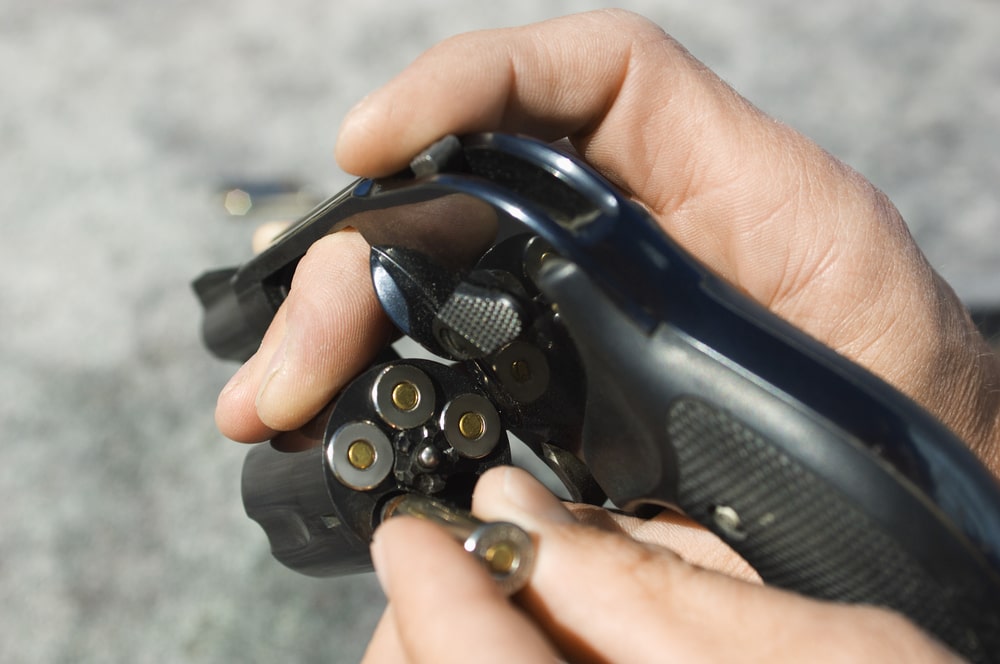
If you are a new gun holder, then there is a new world of gun ownership that you are required to discover. The process ranges from cleaning the weapon to properly handling it. You need to understand so many things about your gun, especially if you would like to enjoy your shooting experience. Reloading brass is important as well. With the right tools with you, you will only need to understand your gun’s structure. In the article, we shall take you through a step by step guide on how to reload your brass:
Step 1: Inspect the Brass
Inspecting the brass involves checking each brass for any cracks or any other forms of deformations that could bring challenges during reloading.
Step 2: Remove the Already Used Primer
While using a punch die, remove the used primer from the base of the brass shell.
Step 3: Tumbling the Brass
Here you can select to use the media of your choice to help you tumble the bass until the powders and the oxidation are removed. The time taken in this step shall determine with the dirt of the case.
Step 4: Removing the Brass from the Tumbler
After you’ve ensured the brass is shiny and free from oxidation, make sure to turn off the tumbler to help you remove the brass.
Step 5: Measuring of the Brass
Use a micrometer to measure each case’s actual length to determine the stretch or length of the brass when it was fired.
Step 6: Turning of the Neck
Consider using a neck turning tool to resize the case to the factory settings. Consider following your reloading manual because every brand and caliber is different.
Step 7: Lubrication
The below steps shall ensure that the brass shall be run through a press at least twice. Therefore, using an old cloth is advisable.
Step 8: Inserting the Primer
Make sure to put the primer into the main receiver on the bullet press and then load the case into a holder. Inspect the process to ensure it is seated in the right place.
Step 9: Removing Lip Burrs
Use a deburring tool to smooth out the neck of your gun’s brass. It will ensure a smoother seating of the bullet.
Step 10: Calibrate the Scale
Always remember to set your powder scale. It helps to measure in grains.
Step 11: Measuring Your Powder
Consider referencing the reloading manual or the manufacturer’s website for details. Pour the powder into scales weighing bowls until where the amount is intended. If too much powder is added, it can cause injury to the user.
Step 12: Putting the Powder into the Case
Use a small funnel to slowly put the powder from the scale’s bowl to the primed brass.
Step 13: Change the Die to Bullet Seat
Replace the punch die by screwing it from the top with a bullet seating die. Do it gently.
Step 14: Seat Your Bullet
Gently set your bullet on top facing vertically, ensuring the boat tail faces the inside of the casing and pulling the lever on your press.
Step 15: Inspecting the Bullet
It is your duty to inspect all the mating surfaces for any form of stretching because it can cause inaccuracy. Confirm the bullet’s seating and that of the primer to ensure that everything has been sealed for the longevity of the powder life.
Step 16: Store the Bullet
Once the bullet has been made, consider storing it in a protective case and ensuring that you keep it in a place with a mild temperature of around 65 degrees.
Step 17: Final Step
You can now follow those who take hunting and shooting accuracy seriously. Consider engaging yourself with a focused team and who will help you save on your brass. You will, for sure, enjoy your hunting time. When you run out of brass, following the above steps is paramount. Please do not take things lightly when it comes to matters reloading the brass. Sometimes it can also injure you if you are not careful.


